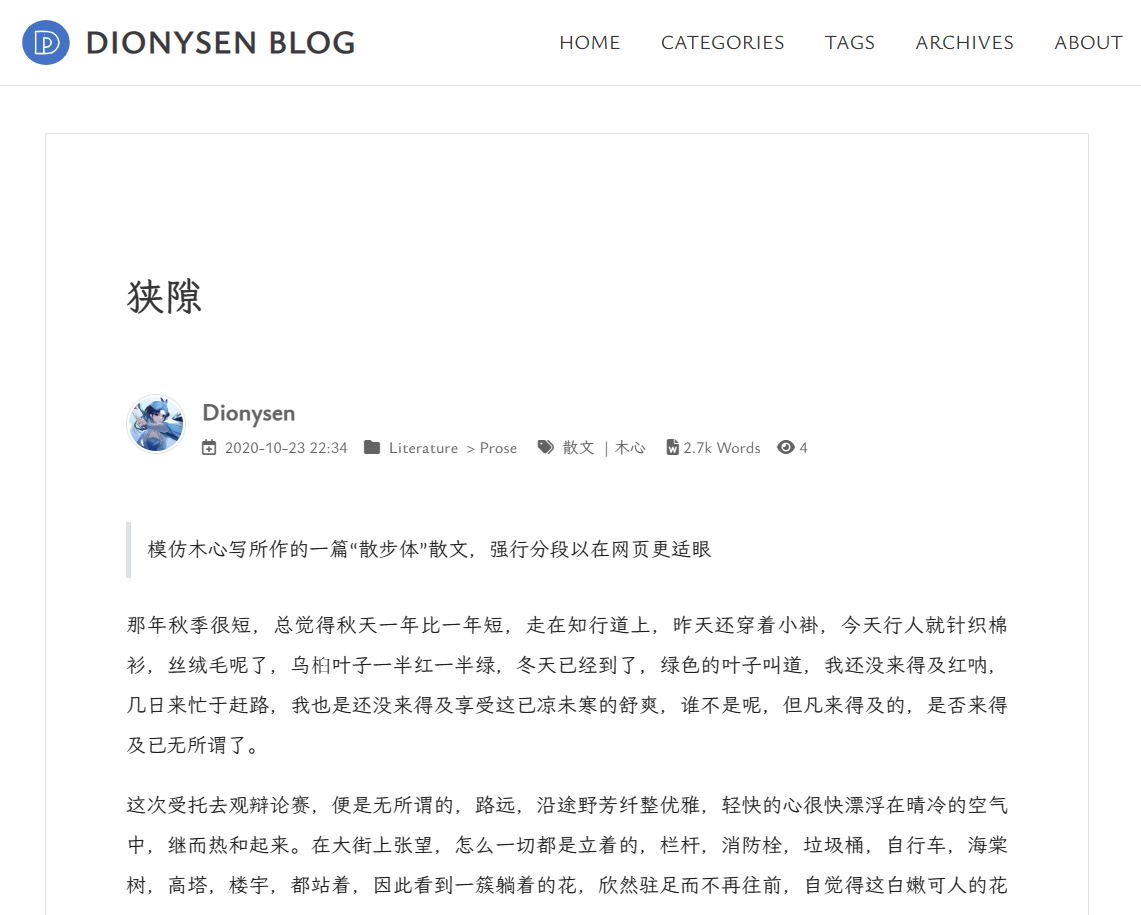
最初是寻找一个干净清爽的hexo主题,逛了许久终于发现这款,虽然第一眼并没有很喜欢,但干净的界面,齐全的功能,我决定自己把它修改成想要的样式。
hexo的安装和配置请移步:Hexo 个人博客搭建 | DIONYSEN BLOG
基础配置官方文档讲得很清楚:安装主题 | Keep 主题使用指南 (xpoet.cn)
安装hexo,创建自己的项目,并设置主题为keep。
界面美化 代码高亮
Keep 主题追求的是简约轻快,在最大程度上降低用户对界面美感的选择困难,使其专注写作的内容,作者认为这两种代码高亮主题能满足绝大部分的使用场景。后续版本迭代基本上不会有新的代码高亮主题出现,望周知。
尽管只有两种代码高亮主题,还是可能会出现一些非预期的错误,比如代码块无法高亮显示代码,可以尝试用以下方式解决:
npm uninstall hexo-prism-plugin
编辑博客根目录下的_config.yml文件:
highlight:
  enable: true
  auto_detect: false
  line_number: false
  line_threshold: 0
  tab_replace:
  exclude_languages:
    - example
  wrap: true
  hljs: false
prismjs:
  enable: false
  preprocess: true
  line_number: true
  line_threshold: 0
  tab_replace: ''
即可使用keep主题的代码高亮方案。
块阴影 个人审美觉得主题阴影太深,修改阴影大小和边框颜色,编辑Blog/theme/keep/source/css/common/keep-theme.styl:
$keep -container-border-radius = 0.1rem hover-style (isTransform, scaleX, scaleY) border 1px solid var (--item-border-color) // 边框样式 if (isTransform) { transition -t ("transform" , "0" , "0.2" , "linear" ) } &:hover { if (hexo-config ('style.hover.scale' ) && isTransform) { transform scaleX (scaleX) scaleY (scaleX) } if (hexo-config ('style.hover.shadow' )) { box-shadow 0px 0.5px 2px var (--shadow-color) } } }
如果想要更加沉浸式的阴影,可以去掉边框,加上四周阴影:
box-shadow black 0.1px 0.1px 4px ;
效果如图:
主页描述 原主题主页最多有两句话,且样式相同,没有层次感,可以修改Blog/themes/keep/layout/_partial/first-screen.ejs文件:
<div class="description hitokoto">
    Sincere and Fearless    <!-- 此处插入第一行字 -->
    <% for (const idx in final_description) { %>
    	<div class="desc-item"><%= final_description[idx] %></div>
    <% } %>
</div>
主题目录下的_config.yml
description: It is this intellectual activity ……
效果如图:
字体修改 个性化的字体需要自定义字体样式,加载云端字体或本地字体,汉字不像英文,一般体积都很大,十几二十兆都很有可能,如果直接加载,会大大拖慢网页加载速度,可以通过压缩的方式减小字体大小。压缩中文字体的原理是删除一些不常用的字,如生僻字、繁体字、特殊符号等。(生僻字未必用不着,因此要删除什么是一个关键问题)
先下载想用的字体文件,假如只有3字重,那么得到三个文件xxx-regular.ttf、xxx-light.ttf、xxx-bold.ttf,或者otf格式也一样。
mkdir font-compressvim compress.sh echo "Input path: $1 " echo "With subset: $2 " echo "Custom text file: $3 " current_dir=$(dirname "$0 " ) text_file="$current_dir /common-text.txt" if [ -f "$3 " ]; then text_file="$3 " fi compress file_basename=$(basename "$1 " ) file_extension="${file_basename##*.} " file_name="${file_basename%.*} " if [ "$2 " = "true" ]; then echo "Make subset for $1 with $text_file " fonttools subset "$1 " --text-file="$text_file " --output-file="$file_name .subset.$file_extension " echo "Compressing $1 .subset" fonttools ttLib.woff2 compress "$file_name .subset.$file_extension " -o "$file_name .subset.woff2" else echo "Compressing $1 " fonttools ttLib.woff2 compress "$1 " -o "$file_name .woff2" fi } if [ -d "$1 " ]; then echo "Directory" for file in "$1 " /*.{ttf,otf}; do compress "$file " "$2 " done else echo "File" compress "$1 " "$2 " fi
在此文件夹中放入存有要保留字的txt文件,如common_text.txt,内容为要保留的所有字符,可以自己整理,也可以使用开源项目中的文件,如冯兴凯/常用汉字集 - 码云 - 开源中国 (gitee.com) ,本次使用冯兴凯的汉字集示例:
pip install fonttools . ├── chinese │ ├── 3500常用字.txt │ ├── 7000常用字.txt │ ├── Chinese16159.txt │ ├── Chinese7000.txt │ ├── LICENSE │ └── README.md ├── Chinese7000.txt ├── compress.sh ├── LXGWBright-Italic.ttf ├── LXGWBright-MediumItalic.ttf ├── LXGWBright-Medium.ttf └── LXGWBright-Regular.ttf ./compress.sh /home/dionysen/font-compress chinese7000.txt
压缩完成之后,会在此文件夹下生成.woff2文件,复制这些文件到Blog/theme/keep/source/css/common/fonts文件夹(不存在则创建),在fonts文件夹下创建stylesheet.css,内容为:
@font-face { font-family : 'LXGW Bright' ; src : url ('./common/fonts/LXGWBright-Italic.woff2' ) format ('woff2' ); font-weight : normal; font-style : italic; font-display : swap; } @font-face { font-family : 'LXGW Bright' ; src : url ('./common/fonts/LXGWBright-MediumItalic.woff2' ) format ('woff2' ); font-weight : 500 ; font-style : italic; font-display : swap; } @font-face { font-family : 'LXGW Bright' ; src : url ('./common/fonts/LXGWBright-Medium.woff2' ) format ('woff2' ); font-weight : 500 ; font-style : normal; font-display : swap; } @font-face { font-family : 'LXGW Bright' ; src : url ('./common/fonts/LXGWBright-Regular.woff2' ) format ('woff2' ); font-weight : normal; font-style : normal; font-display : swap; }
在/home/dionysen/Blog/themes/keep/source/css/style.styl中导入:
@import "common/fonts/stylesheet.css"
/home/dionysen/Blog/themes/keep/source/css/common/basic.styl中导入:
@import 'fonts/stylesheet.css'
此时就可以设置font-family了:
font_family: LXGW Bright, LXGW Bright SemiLight, Simsun, STSong
效果:
使用 Github Page 自动部署 创建一个私有仓库用来存放源文件。
创建一个有 repo 和 workflow 权限的 GitHub Token 。
将上面生成的 Token 添加到私有仓库的 Secrets 里,并将这个新增的 secret 命名为 HEXO_DEPLOY 。
私有仓库 -> settings -> Secrets -> New repository secret。
在Hexo项目根目录下创建配置文件:
cd blogmkdir .githubcd .githubmkdir workflowsvim deploy.yml
编辑deploy.yml,添加如下配置
name: deploying Hexo project to GitHub pages on: push: branches: - main jobs: build-and-deploy: runs-on: ubuntu-latest steps: - name: Checkout uses: actions/checkout@master - name: Build and Deploy uses: theme-keep/hexo-deploy-github-pages-action@master env: PERSONAL_TOKEN: ${{ secrets.HEXO_DEPLOY }} PUBLISH_REPOSITORY: Dionysen/Dionysen.github.io BRANCH: main PUBLISH_DIR: ./public
部署使用的是 theme-keep 组织封装的 hexo-deploy-github-pages-action
然后编辑博客文章,push到源文件仓库,即可自动触发部署。
私有仓库的action:
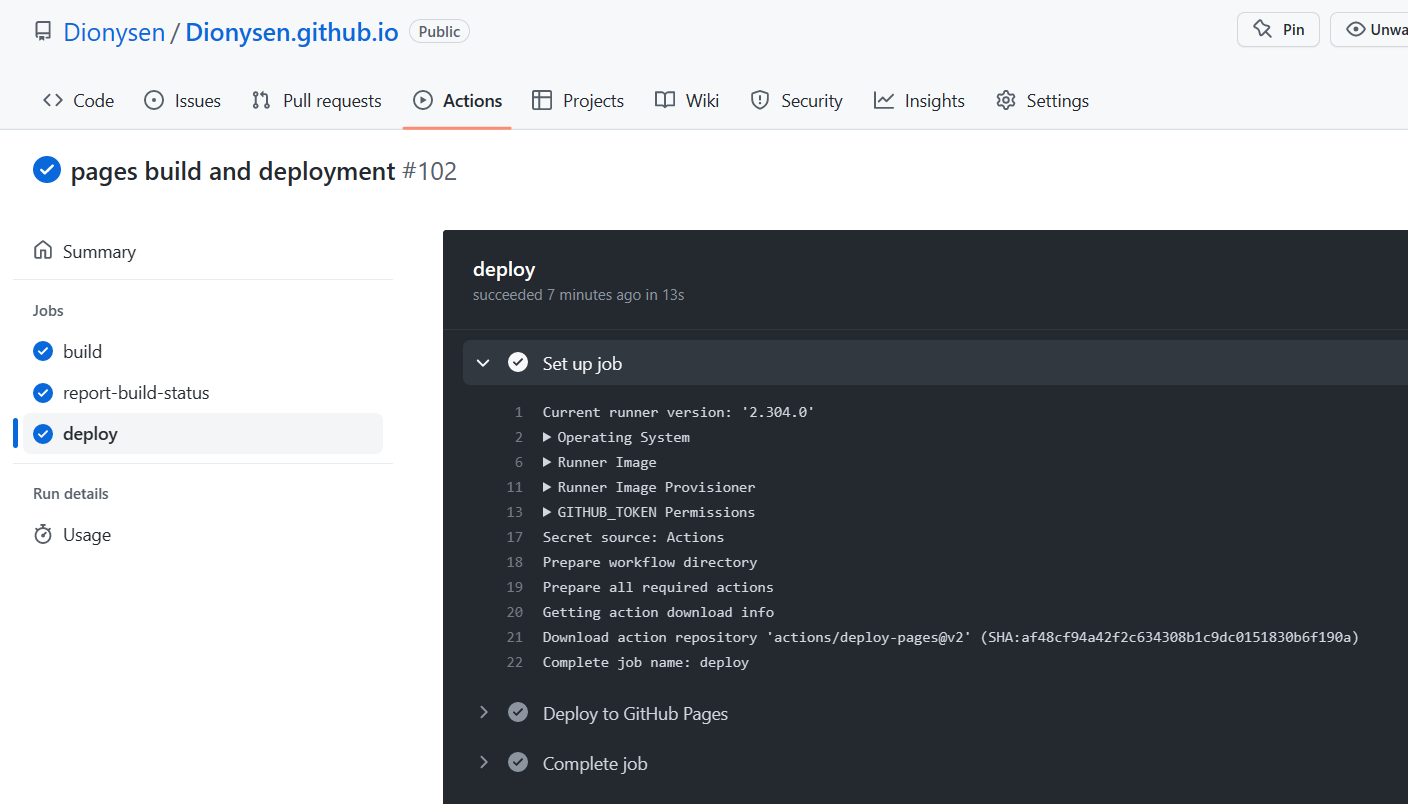
公共仓库的action:


